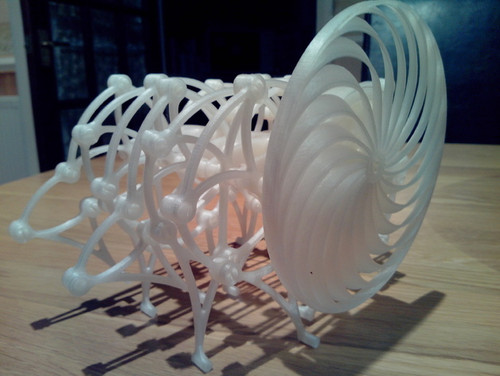
Printing instructions : 1 x PLATE_PRINT_ONCE.stl 1 x PLATE_LEG_SECTION.stl rinse and repeat for however many legs you want to fit onto this beast (3,6,9,12 etc). Full Bill of Materials (separate stls included): 1 x END BEAM (DARK GREEN) 1 x CRANK SHAFT ADAPTER (BLOOD RED) (For each leg section, rinse and repeat) :- 1 x BEAM (DARK GREEN) 1 x CRANK ARM (LIGHT GREY) 1 x CRANK SHAFT (LIGHT GREY) 2 x INNER LINK (DARK BLUE) 2 x LEG (MAGENTA) 2 x MID LINK (LIGHT GREEN) 2 x OUTER LINK (YELLOW) 8 x PIN (WHITE) 2 x SPACER (DARK GREY) 2 x TRIANGLE BRACE (LIGHT BLUE) 2 x UPPER LINK (LIGHT RED) Assembly Instructions: Please assemble according to BRABEAST LEG SECTION.stl and BRABEAST.stl (view in Thingiview) Note: The crank shaft angle for each leg has to be indexed according to the previous leg's crankshaft angle. This is achievable by the hexagonal crank shaft hole clipping onto the previous leg's hexagonal shaft. You can either index it 120deg for a short beast or 60 deg for longer beasts. Some tips : Maybe a dab of glue may be required depending on your printer calibration and clipping together of leg sections. You can scale the pins down if they are too tight for you. Brabeast by Gyrobot is licensed under the Creative Commons - Attribution - Share Alike license.


