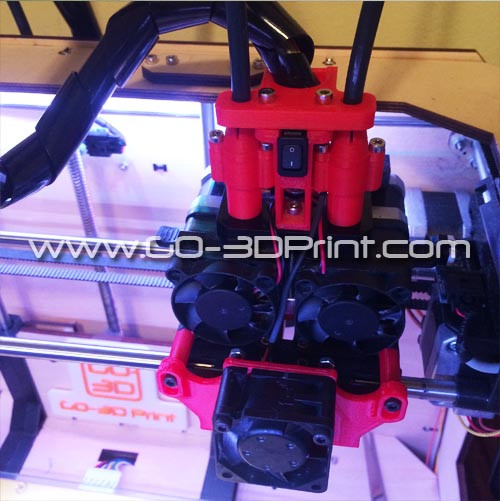
Models created in sketchup, sliced in Simplify3D, printed on Flashforge Pro at 45% infill at 0.2mm, 230C in white ABS filament. Preparation: The small holes where the bolts for the captured nuts enter will need drilling out slightly due to shrinkage of the ABS material. For the captured nuts, use M3 size, they are a tight fit so I ended up sitting them on top of the recess and heating with the tip of a soldering iron until they sat down flush. The center hole for the motor mount shaft collar was also a tight fit so ended up filing 0.25mm around the internal diameter. Installation: Disconnect cable from Y-Axis motor. Remove two M3 allen bolts from existing motor mount. Remove four allen bolts holding motor mount onto motor (note orientation of the mount) Carry out preparation as detailed above. Secure new mount onto motor using four allen bolts removed earlier, Install motor back into printer ensuring motor shaft gear fits into Y-axis belt.and secure with the two M3 allen bolts removed earlier. Make sure Y-axis belt is sitting nicely in the shaft gear and there is sufficient tension on the belt. Reconnect motor cable. Carry out a test print. Flashforge Creator Uprated Motor Mount (Y-Axis) by roblangston is licensed under the Creative Commons - Attribution - Share Alike license.


